BLOG/Design
A Crash Course to Photo Editing – Adjustments, Tools & Step-By-Step Guide
Start Off With a Quality Photo
Photoshop can work magic when it comes to editing photos. It can turn an ordinary photo into a majestic piece of art. One thing it cannot do is transform a poorly shot, poorly lit, or low quality photo and transform it into a beautiful image. A great analogy would be how a hair dresser can only work with the clients characteristics and not turn an unattractive person into an attractive one. What they can do is turn a person into a striking, more refined version of themself.Use Adjustment Layers
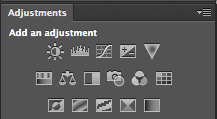 Add in window or
  One of the ways beginner users of Photoshop often shoot themselves in the foot are by applying all of their effects, manipulations and adjustments to the actual image itself. Attacking a photo this way can be detrimental to your time and productivity. Most of the adjustments you make are not always perfect on your first attempt. Additionally, after you begin to perform more and more tweaks to your image, certain adjustments from the beginning may affect the image in a different way. Adjustment layers are effect layers that ONLY apply to the layers below itself. Using Adjustment layers will allow you to turn layers on and off throughout the process so that you can compare before and after, delete adjustments you no longer want, and of course continue to adjust old layers throughout the process.
Important/Basic Adjustment Layers:
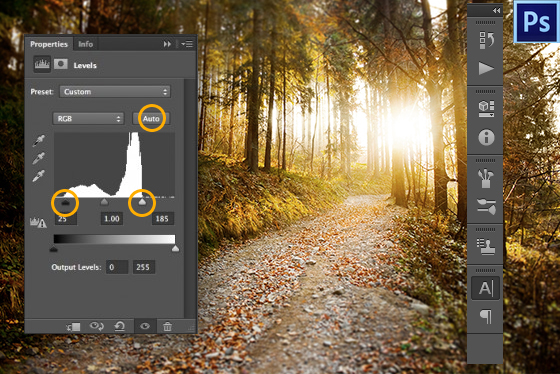
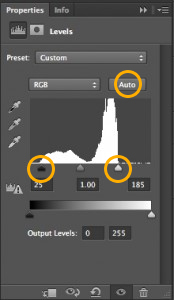
Brightness/Contrast – As the name implies, this adjustment is for adding brightness and/or contrast to an image. This is often my go to adjustment, especially for images that lack contrast or that are too dark.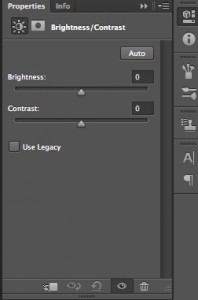 Levels – Usually the very first adjustment applied to any image. As a rudimentary rule of thumb it is usually most effective to move the jog arrows towards the center on each side so that there is no “empty” space as you can see in the photo below. If you are new to Photoshop or don’t have time to experiment you can always use the “auto” feature.
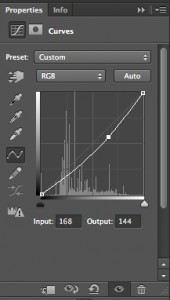
 Curves – Curves are similar to the “levels” adjustment in that it allows you to change the tones of the highlights, mid-tones, and shadows of an image, only curves allows for more precise manipulation and is typically for more of a intermediate skill level.
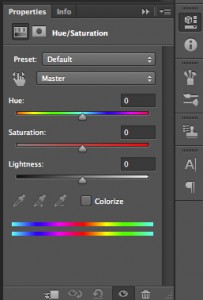
 Hue/Saturation – A simple tool used to play with the amount of saturation of an image or to change the hue of the colors in the image. This tool is most often used to desaturate and image that may be too intense or to add intensity when needed.
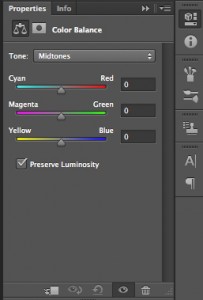
 Color Balance – A great tool to adjust the color of an image in case color was lost or distorted in the shooting or just simply to add warmth.
 The Mask Tool
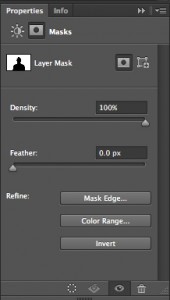
 <-- Area in black is the only portion of the photo the adjustment is being applied to.
With all of these adjustment layers in place there will often be specific areas where you want the adjustments to affect, and portions of the image where you rather them not. The mask portion of each adjustment layer is almost as important as the adjustment itself. Next to each Adjustment you will see a white or black box. This is your mask. If the mask box is white, then simply drawing in the mask with a black brush will remove the effect from wherever you draw. If you invert the mask and the box is black, simply draw on the black box with a white brush to start applying that adjustment. As you draw you will see the image being affected by the adjustment only where you have drawn.
Additional Effects + Improvement Tools
 Dodge + Burn – Important tools for highlighting and darkening aspects of an image that need slight specific adjustments. For instance, dodge would be great to brighten someone’s teeth and burn might work to emphasize shadows in someone’s face to add depth.
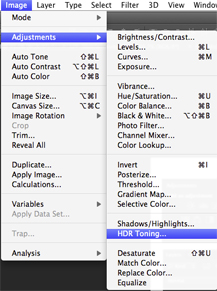
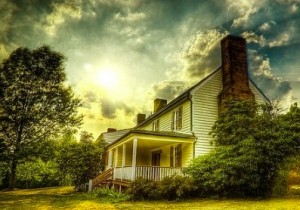
 HDR Toning – Image > Adjustments > HDR Toning – This is a fairly easy way to add an HDR effect to your images. HDR is essentially taking multiple photos of the exact same scene/image but each with different exposure levels and combining them together to get a photo with vivid detail, a dynamic range and an exaggerated, almost “High Definition” look. This look has also become popular because of it’s quick filter in Instagram that is hard to stay away from. This effect can be great for portraits or landscapes if used correctly. Just make sure you stay subtle and make sure you don’t go overboard with this effect.
 Layer Blending Effects
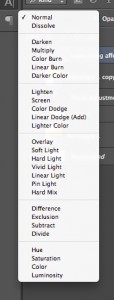
Also one of the most frequently used effects in Photoshop. These blending options all produce very different effects but they change the way layers interact with other layers above and below them. These have a multitude of use cases that change depending on the photo or the project. For photo editing these blending modes are usually applied to a duplicate of the main image with the opacity turned down so that the effect is not too apparent or too strong. Here is an interesting visual representation of each blending mode.
 Basic and Frequently Used Blending Effects:
Multiply - Adding a duplicate layer set to multiply with the opacity turned down will add depth and contrast to the photo while maintaing and even enriching tones which may need to be slightly desaturated as a result.
Screen - Doubles intensity of the image. This is effective for brightening or intesifying areas of a photo that are generally too dark.
Soft Light - Use as an alternate to the dodge and burn tools but creating a layer and painting with a color similar to the color of the portion of the image you are painting on. This effect will lighten the image if your brush color is lighter or darken if the brush is darker. This is useful because it keeps the integrity of the shadows and highlights so that they will not be distorted or compromised in any way to appear unnatural.
There are plenty more layer blending effects that can have a profound influence on your photograph. These take a great deal of time and experimentation to master and are best suited as expert level effects for later on down the road.
Step-By-Step
1. Find Image. Original image of a rural road. Already a pretty nice shot with some drastic lighting.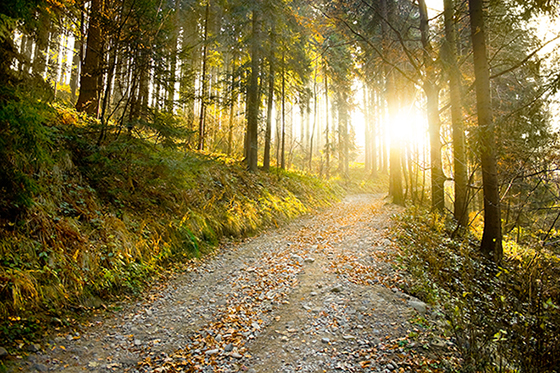 2. Adjust Levels. I have adjusted the levels sliders in order to add depth by adding darker darks and lighter lights.
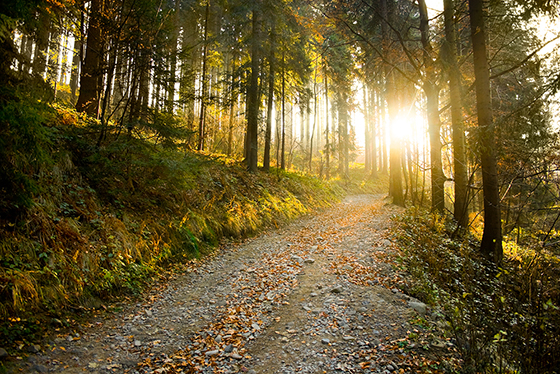 3. Brightness/Contrast. Here I added contrast for drama and added a touch of brightness.
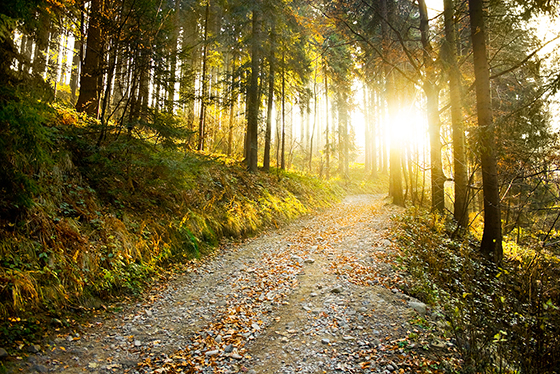 4. Hue Saturation. Here I reduced the saturation because of the intense amount of color. It was just too much. I have also played with the hue slightly to tone town the strong green color and to add more yellows and oranges to give the scene more of a fall look to coincide with the leaves on the path.
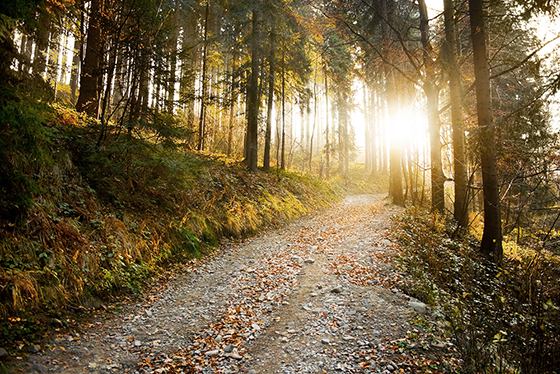 5. Color Balance. Here I have adjusted the color a little bit more to the orange/yellow side to heighten the autumn look.
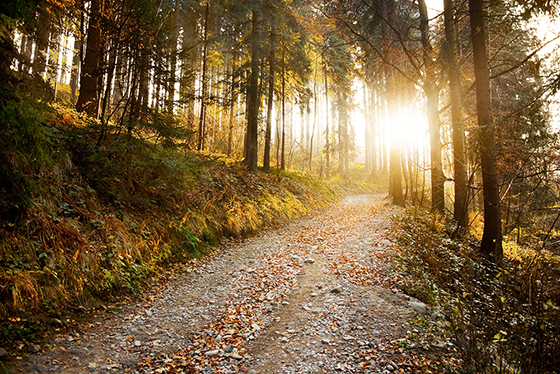 6. HDR Toning. I have added an HDR toning layer that was brought down to 55% opacity to add detail and intensity.
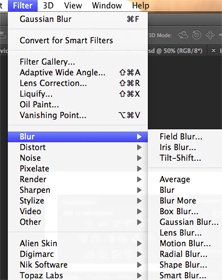
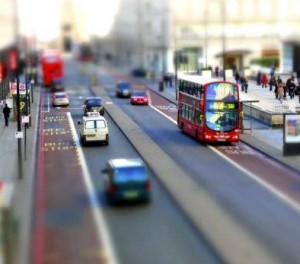
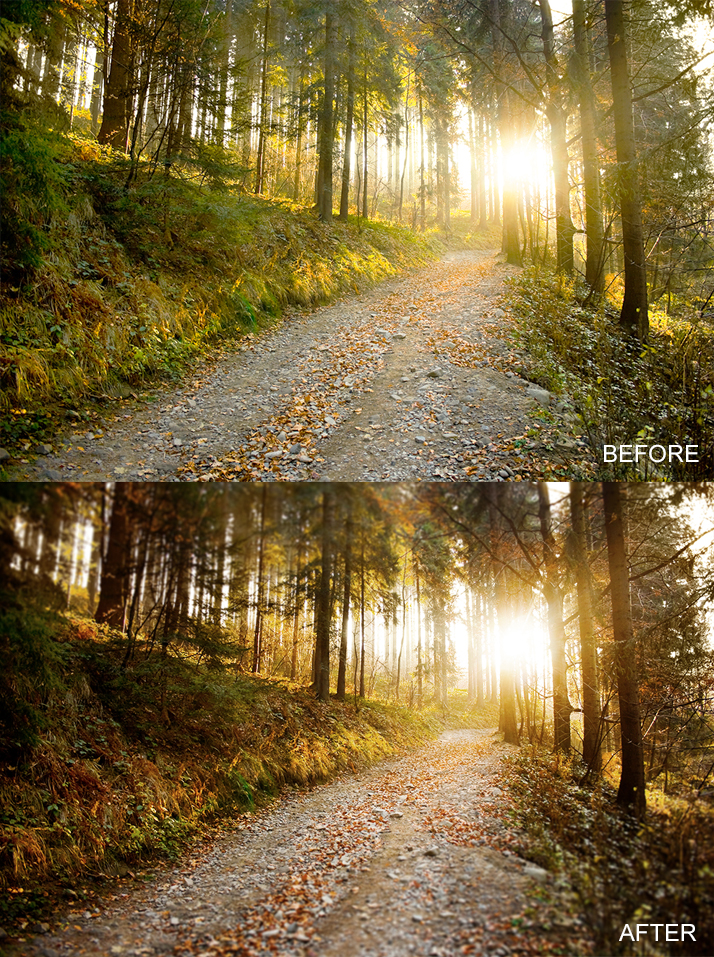
 7. Tilt-Shift. Added a tilt-shift blur effect for depth and to direct user focus.
 Before/ After:
More from the
DO Blog

Designing & Building Product Finder Quizzes for eCommer...
Strategy & Planning / December 23, 2020
View Blog Post
3 Customer Motivation Strategies to Improve Your eCommerce i...
Strategy & Planning / July 27, 2020
View Blog Post
